This quick tutorial shows how to set up a LAMP stack on a clean Ubuntu install. Most of these same steps can be used to setup a LEMP stack as well, except for some configurations in nginx. If you do not wish to sudo, you may sudo su to root.
Update Packages
Re-synchronize the package index files on the system. Depending on your distro of Ubuntu, your service provider could have added their own sources as well. Package sources are listed (or should be listed) in /etc/apt/sources.list
sudo apt-get update
Upgrade Packages
Remember the packages we refreshed earlier? Let’s update them:
sudo apt-get upgrade
Note: packages that were not previously installed are not suddenly installed; packages are not uninstalled either – packages with updated sources are upgraded.
Install Apache
Apache is very very popular. It has come a great way since nginx came into the scene that some of it’s caveats have been addressed recently. If you’d like, tell us the differences between nginx and apache or why you’d choose one over the other.
sudo apt-get install apache2
Upon installation you should see your apache page on the IP address of your machine. We will talk about setting up firewalls below. Assuming localhost, visit http://localhost – it should look somewhat similar to the image below:
Enable Modules
Enable the rewrite module:
sudo a2enmod rewrite
Install MySQL
We’re going to install MySQL in a secure manner. This is just the basic stuff – so you may want to do this in addition to other steps to keeping your installation secure. We’ll be installing on localhost, so we won’t need to keep port 3306 (default mysql listening port) open – if you have to install your database on another server, you might want to allow only mysql connections through the firewall with UFW.
sudo apt-get install mysql-server
You will be asked to configure the password for the root user:
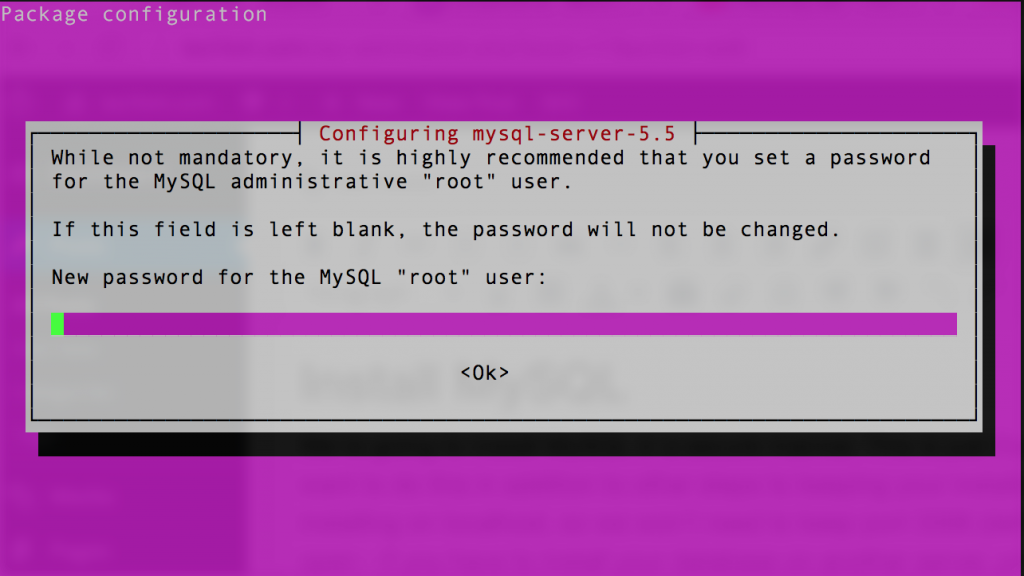
Update the password to something hard to guess, but easy to remember. Test the login; and while we’re at it, we will create a non-root database and user. You can skip this step if you wish to use root, but you should not use root as it is less secure.
mysql -u root -p
Once logged in, let’s create a new database and new database user with limited permissions. Unless this user needs all grants, we’ll only grant SELECT, INSERT, DELETE and UPDATE permissions for now:
CREATE DATABASE foobar DEFAULT CHARACTER SET utf8 DEFAULT COLLATE utf8_general_ci;
CREATE USER 'user'@'localhost' IDENTIFIED BY 'password';
GRANT SELECT, INSERT, UPDATE, DELETE ON foobar.* TO 'user'@'localhost';
FLUSH PRIVILEGES;
Exit mysql and try to connect as your new user:
mysql -u user -p
Exit MySQL and continue. We’ll setup the mysql structure with the following command:
sudo mysql_install_db
You will be prompted to run mysql_secure_installation, do so and follow the prompts:
sudo mysql_secure_installation
For this tutorial, we skipped change the root password, and yes to everything else.
Install PHP
We’ll be installing PHP with packages normally used in production. If you won’t be using these packages, feel free to skip any of them.
sudo apt-get install php5 php5-cli php5-curl php5-gd php5-json php5-mysql php5-mcrypt libapache2-mod-php5
Test PHP install & MySQL connection
See: how to run php in command line terminal window to see how to run these scripts directly in the terminal window. Let’s test the connection to MySQL with the database we created previously:
$mysqli = new mysqli("localhost", "user", "password", "database");
echo $mysqli->error;
When you run echo $mysqli->error; and you see no errors, you should be good to go. You may also run print_r($mysqli) to see the connection object.
Other items to setup
You might also want to consider installing more items to get the best out of your LAMP install. See more: